
Standard Practice
1. Survey the Site and Document with Pictures and/or Drawings. (Examples to be Added)
2. Use your Metal-Detector and Locate a Potential Target Object. Mark the point where the Target Object is.
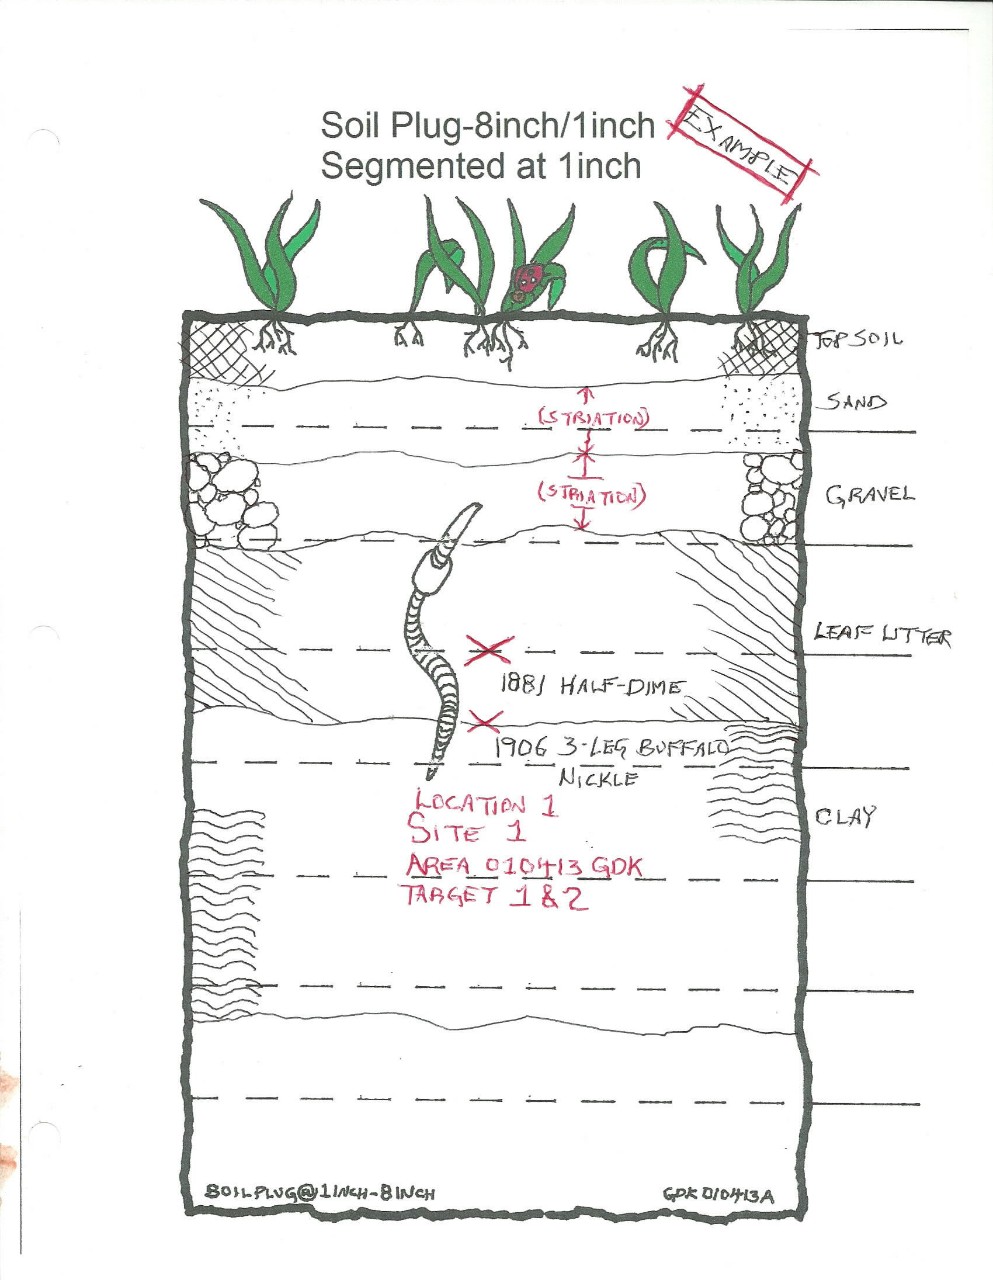
3. Take a Sample of the Strata (Soil Layers) around the Target Object by Using your Shovel or Spade to Cut a Section of the Area into a Square, then Removing that Section and laying it on the ground beside a Ruler/Tape Measure to be Photographed and Drawn. Call out each Type of Soil on the Drawing/Sketch (Top, Sand, Clay, Rocks, etc...).
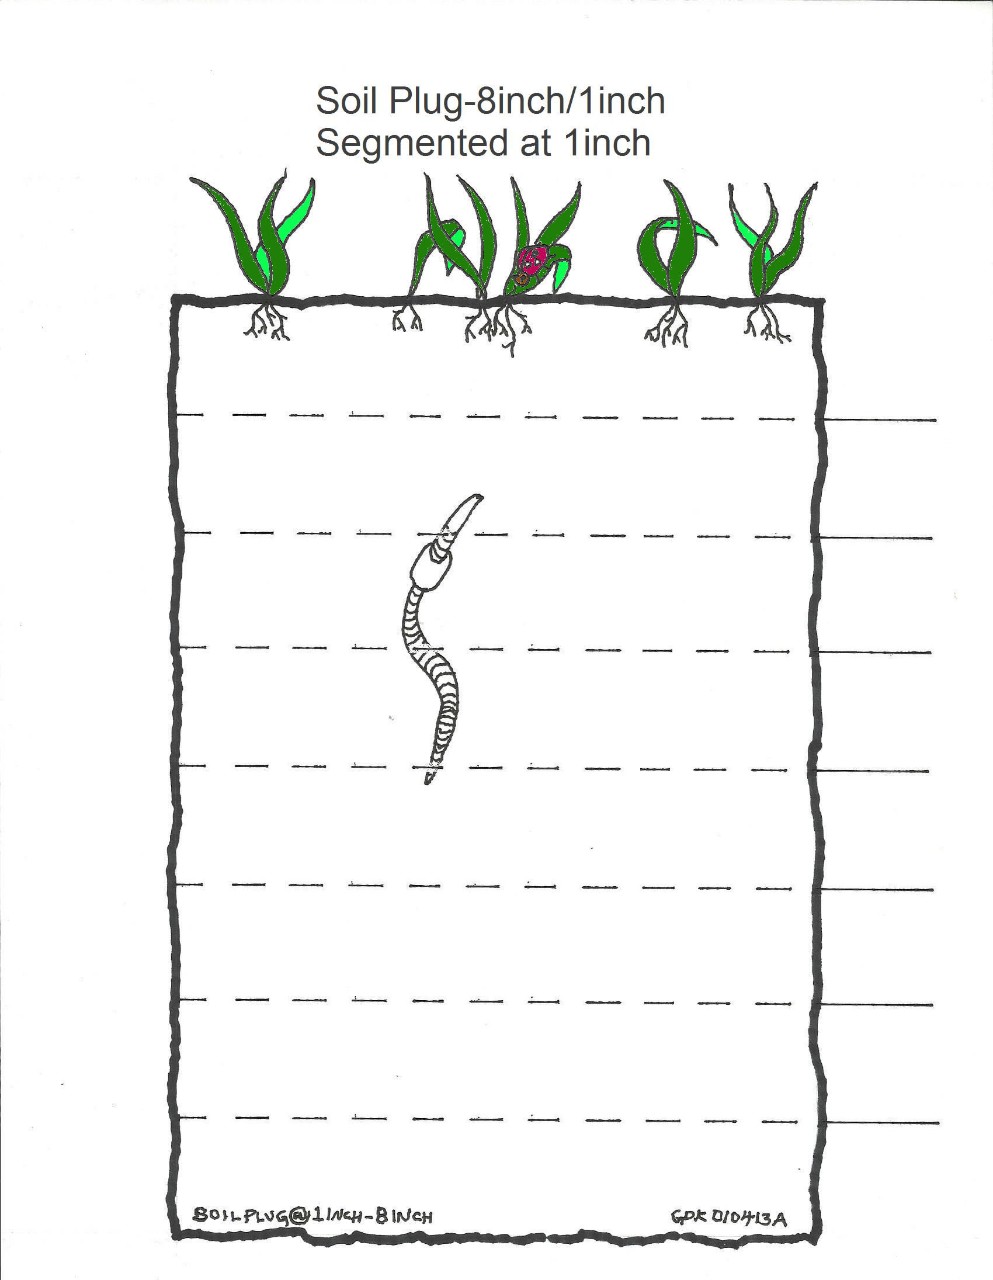
(8inchSoilPlug-1inch-GDK010413A-Colored)
4. Use the Metal Detector to Determine where in the Cross Section of the Strata (Soil Layers) the Target Object is. Mark it on the Sketch/Drawing.
5. Cut the Cross Section of the Strata (Soil Layers) where the Target Object was Determined to be and Photograph the Target Object.
6. Remove Target Object, and Photograph every Major Side.
7. Place Target Object in a Plastic Baggie and then into a Plastic Bin.
8. Replace Dirt and Top Soil/Grass/Vegitation.
This Procedure is Only to be used on the First Target Object of the Site Area. Though the Depth of Each Target Object should be Documented as well as the Target Object itself to Develope a Timeline versus the Strata (Soil Layers).
With several of the Recorded Strata (Soil Layers) Collected we should be able to establish an Accurate Timeline of when the Target Objects were Lost and how Deep to Dig.
NOTE: We Respect the Land and Replace all Plugs back so Little to No Damage is Done.
I will be adding Sketches and Photographs for Each Step in the Near Future.